ADVERTISEMENT
Directions
Step 1: Prepare the Baking Pan
- Line an 8-inch square baking pan with parchment paper, leaving some overhang for easy removal later. Lightly grease the parchment paper with cooking spray or butter.
Step 2: Melt the Chocolate
- In a medium saucepan over low heat, combine the semi-sweet chocolate chips, sweetened condensed milk, and butter. Stir continuously until the mixture is smooth and fully melted. Be careful not to let it scorch.
Step 3: Add Flavorings
- Remove the saucepan from heat and stir in the vanilla extract and salt until well combined.
Step 4: Mix in Optional Ingredients
- If you’re using any mix-ins, such as nuts or crushed candy canes, fold them into the chocolate mixture until evenly distributed.
Step 5: Pour and Spread
- Pour the fudge mixture into the prepared baking pan, using a spatula to spread it evenly. Smooth the top with the spatula.
Step 6: Chill
- Refrigerate the fudge for at least 2 hours, or until it is firm and set.
Step 7: Cut and Serve
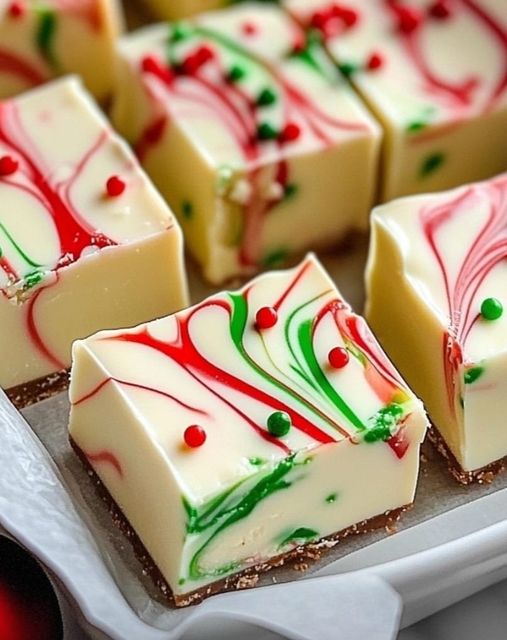
- Once set, lift the fudge out of the pan using the overhanging parchment paper. Place it on a cutting board and cut it into squares. If desired, sprinkle with additional toppings or drizzle with melted white chocolate.
Tips and Tricks
- Use a Double Boiler: If you prefer, you can melt the chocolate using a double boiler to help prevent burning.
- Flavor Variations: Experiment with different types of chocolate (dark, milk, or white) or add extracts like peppermint or almond for a unique twist.
- Storage: Store the fudge in an airtight container at room temperature for up to two weeks or refrigerate it for a longer shelf life.
Storage
Store the Christmas fudge in an airtight container at room temperature for up to two weeks. If you prefer a firmer texture, refrigerate the fudge. You can also freeze it for up to three months; just make sure to wrap it tightly to prevent freezer burn.
ADVERTISEMENT
